Buying window treatments sounds simple until you bring them home, try to install them, and realize they do not fit the frame. Suddenly, a fast weekend project turns into a frustrating ordeal.
Many first-time buyers and seasoned homeowners alike underestimate the process of selecting window coverings. Small errors, like measuring from the wrong angle or picking a heavy fabric for a damp bathroom, often lead to wasted money and ruined walls. If you want to get it right the first time, you need to know which buying blinds mistakes trip people up the most.
We created this practical guide to walk you through exactly what to watch out for, ensuring you find the perfect fit for your home.
Why Choosing the Right Blinds Matters
Window blinds do much more than just cover a glass pane. They play a massive role in how a room functions and feels.
When you select the right window treatments, you control exactly how much natural light enters your living space. You also protect your family from prying eyes and block harsh UV rays from fading your expensive furniture. Furthermore, quality blinds trap heat during the winter and block hot sun rays during the summer, saving you money on your monthly energy bills.
Expertise in window treatment selection comes down to balancing these practical needs with your personal home aesthetics.
The Top 10 Mistakes to Avoid When Buying Blinds
Learning how to choose window blinds means learning from the errors of others. Here are the most common blinds problems buyers face and exactly how you can avoid them.
1. Not Measuring Windows Correctly
The Problem: Most people measure their windows once and assume every window in the room shares the exact same dimensions. They also fail to decide between an inside mount and an outside mount before using the tape measure.
The Consequence: You end up with blinds that scrape against the window frame, leave large light gaps on the sides, or do not fit into the window sill at all. Custom blinds are rarely refundable.
The Solution: Measure every single window individually. Use a steel tape measure, not a cloth one. For inside mounts, measure the width at the top, middle, and bottom, and use the narrowest number. Record measurements down to the nearest eighth of an inch.
2. Ignoring Light Control Needs
The Problem: Buyers often select a fabric or slat material based strictly on color, forgetting to check how much light passes through it.
The Consequence: You might install light-filtering shades in a bedroom, causing you to wake up at the crack of dawn. Alternatively, you might put heavy blackout blinds in a living room, making the space feel like a dark cave.
The Solution: Match the opacity to the room’s purpose. Use blackout materials for bedrooms and media rooms. Opt for light-filtering or sheer options in kitchens and living areas where you want natural sunshine.
3. Overlooking Privacy Requirements
The Problem: People assume that if a blind covers the window, it automatically provides total privacy.
The Consequence: You install loose-fitting slats or sheer shades in a ground-floor bathroom or bedroom. At night, when the lights are on inside, neighbors can see straight through the material.
The Solution: Test the material against a light source before buying. If privacy is a high priority, consider top-down bottom-up shades. These allow you to let light in from the ceiling while keeping the bottom half of the window completely covered.
4. Choosing Style Over Function
The Problem: It is easy to fall in love with a delicate, trendy Roman shade that looks beautiful in a magazine but requires two hands and careful pulling to operate.
The Consequence: You grow frustrated trying to open and close your blinds every day. Over time, delicate mechanisms break under daily use.
The Solution: Think about your daily routine. If you open a window covering several times a day, prioritize smooth, durable mechanisms over highly decorative but fragile styles.
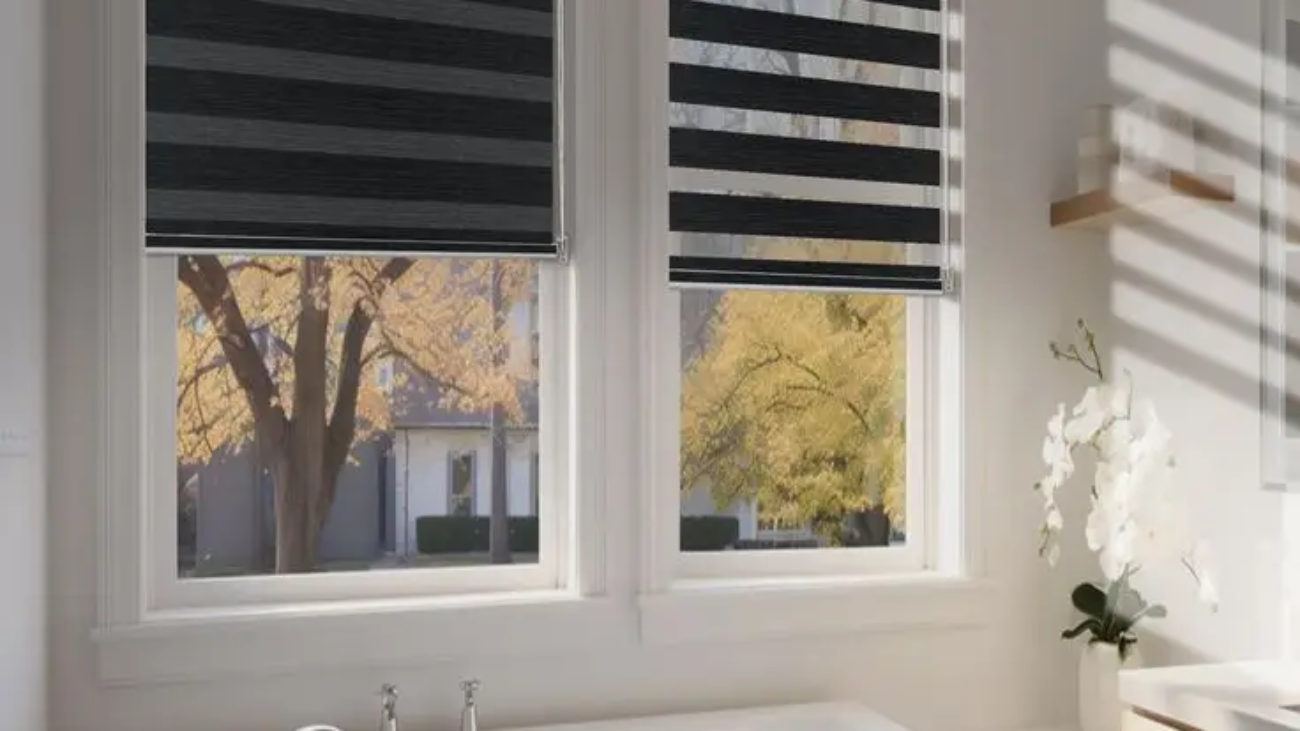
5. Picking the Wrong Material
The Problem: Homeowners frequently put the same type of blind in every room to maintain a uniform look from the street.
The Consequence: Real wood blinds warp, crack, and peel when exposed to high humidity in bathrooms or above kitchen sinks.
The Solution: Match the material to the environment. Use faux wood or aluminum blinds in high-moisture areas like kitchens, bathrooms, and laundry rooms. Save real wood and delicate fabrics for dry, climate-controlled spaces like bedrooms and living rooms.
6. Not Considering Maintenance
The Problem: Buyers rarely think about how they will clean their window treatments until the dust piles up.
The Consequence: You buy slatted blinds or heavily textured fabrics for a dusty environment, leading to hours of frustrating, tedious cleaning every month.
The Solution: If you hate cleaning, look for low-maintenance options like roller shades or cellular shades. A quick wipe or a gentle vacuuming keeps them looking brand new.
7. Ignoring Energy Efficiency
The Problem: People view window coverings purely as decorations and ignore their insulating properties.
The Consequence: Drafty windows leak cold air in the winter and heat up your home in the summer, forcing your HVAC system to work overtime and driving up your utility bills.
The Solution: If you live in a region with extreme temperatures, invest in cellular shades. Their unique honeycomb design traps air, creating an excellent barrier between your home and the outside weather.
8. Forgetting About Child Safety Features
The Problem: Many buyers purchase standard blinds with dangling cords without thinking about who lives in or visits the home.
The Consequence: Exposed cords pose a severe strangulation hazard to young children and energetic pets.
The Solution: Always look for cordless options or motorized blinds if you have kids or pets. If you must use corded blinds, install safety cleats high up on the wall to keep cords completely out of reach.
9. Not Matching Interior Décor
The Problem: Buyers select a bold color or a highly patterned fabric in the store, failing to consider their existing wall color, furniture, or flooring.
The Consequence: The new blinds clash horribly with the room, making the space feel chaotic or disjointed.
The Solution: Bring physical fabric or material samples into your home before making a final purchase. Look at the samples against your walls during both daylight and evening hours.
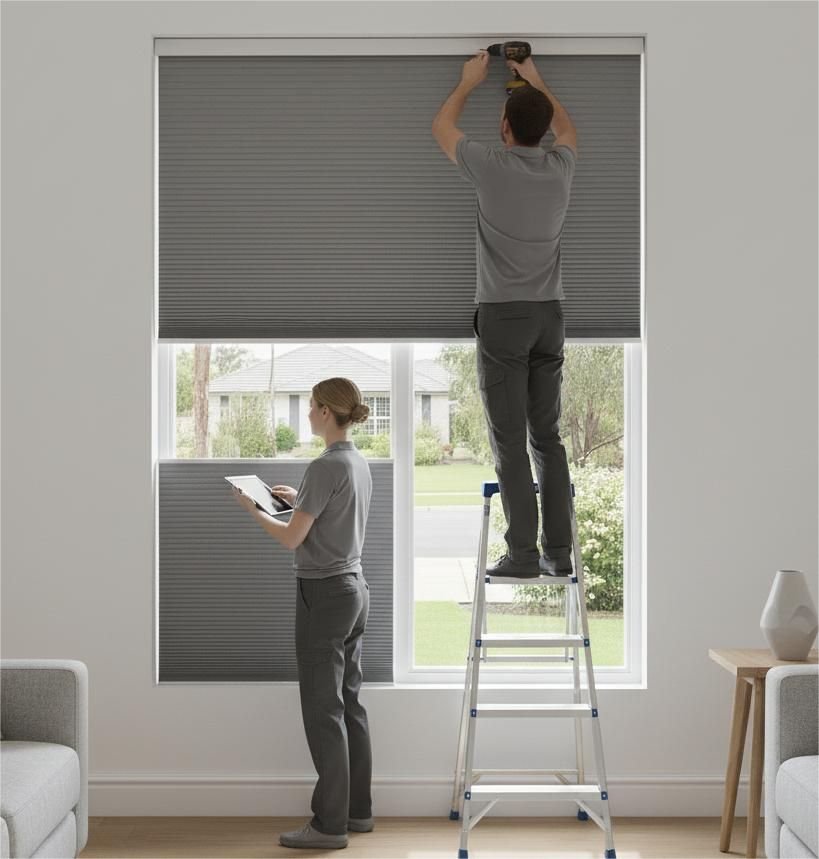
10. Skipping Professional Advice
The Problem: Confident DIYers often assume they can handle complex measuring and tricky installations for massive bay windows or odd-shaped arches without any help.
The Consequence: You drill holes into structural headers or order expensive custom blinds that simply cannot mount to your specific window frame.
The Solution: When dealing with unusually shaped windows, heavy motorized systems, or whole-house projects, seek a consultation. A short conversation with a pro can save you hundreds of dollars in costly errors.
Quick Blinds Buying Guide
To make your shopping experience stress-free, follow this simple blinds buying guide checklist:
- Determine your mounting style: Decide between inside mount (sleek, modern) or outside mount (hides window flaws, blocks more light).
- Measure precisely: Use a steel tape measure. Check width and height in three different places.
- Assess room needs: Identify the core function. Do you need a blackout shade, a moisture-resistant material, or high insulation?
- Order samples: Never guess on colors. Get swatches delivered to your house first.
- Check safety features: Go cordless if small children or animals live in the house.
- Review warranties: Always check the return policy and the mechanical warranty before checking out.
Pro Tips from Experts
Looking for a few more tips for buying blinds? Here is what window treatment professionals want you to know:
- Hide imperfect windows: If your window frames are uneven or old, choose an outside mount. It completely covers the flaws and gives the illusion of larger, perfectly square windows.
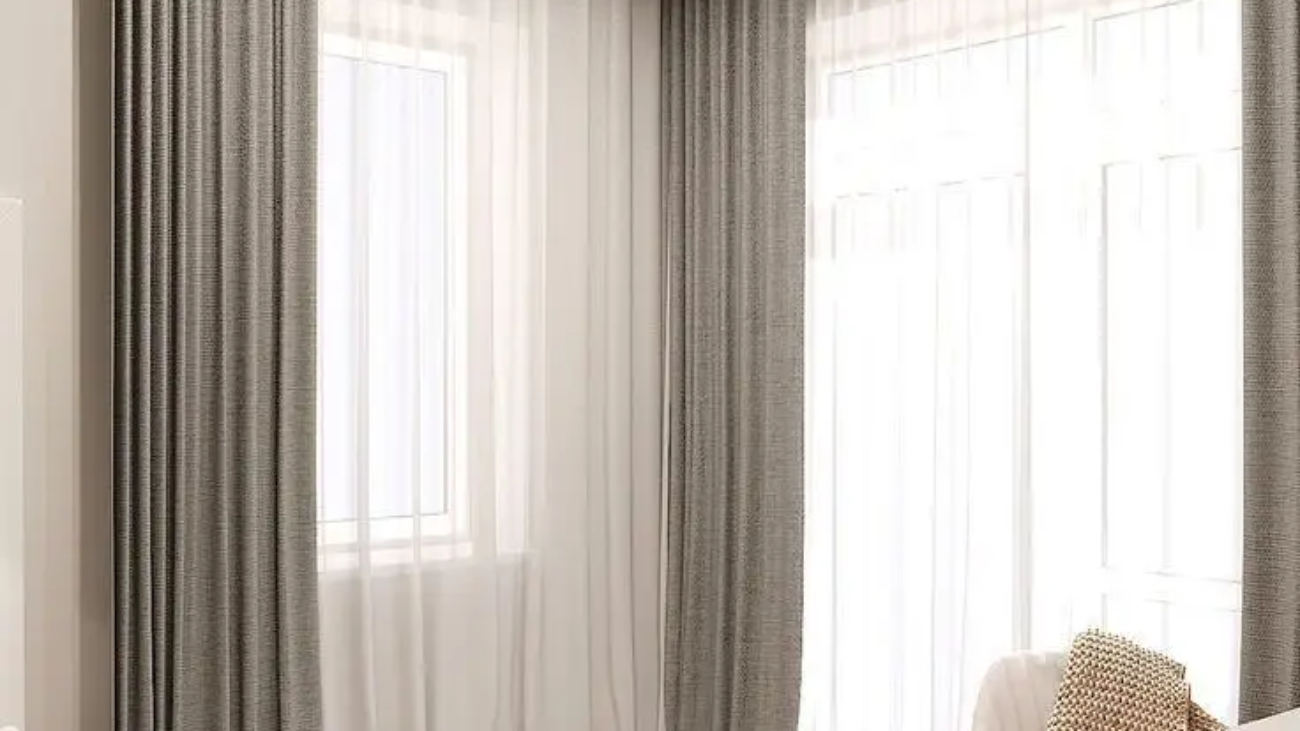
- Layer your treatments: You do not have to pick just one option. Combine a simple light-filtering roller shade with heavy blackout curtains. This gives you absolute control over light and privacy.
- Embrace motorization for hard-to-reach spots: If you have skylights or windows high up on vaulted ceilings, spend the extra money on motorized blinds. A remote control prevents you from dragging out a ladder every time the sun shifts.
- Mind the depth: Before committing to an inside mount, check the depth of your window sill. If the sill is too shallow, the blind will stick out past the frame, ruining the clean look you wanted.
Conclusion
Selecting window treatments does not have to be a stressful chore. By taking the time to measure carefully, matching materials to your room’s specific environment, and prioritizing safety and function, you can totally transform your living space.
Avoid these common mistakes, use our expert tips, and take control of your home’s comfort. Grab a steel tape measure, assess your windows, and start planning your upgrade today. Your future self—and your energy bill—will thank you.